In the world of slow juicers, marketing claims and influencer recommendations often dominate the conversation. However, as an electrical engineer with four years of juicing experience, I’ve developed a comprehensive testing methodology that relies on data rather than subjective opinions. In this post, I’ll explain exactly how I test each juicer to provide you with reliable, unbiased information.
1. Testing Methodology
In my testing process, I use both independently purchased juicers and units provided by manufacturers. All juicers undergo the same rigorous testing procedure regardless of their source, and all results are based solely on measured data.
1.1. Standardized Ingredients
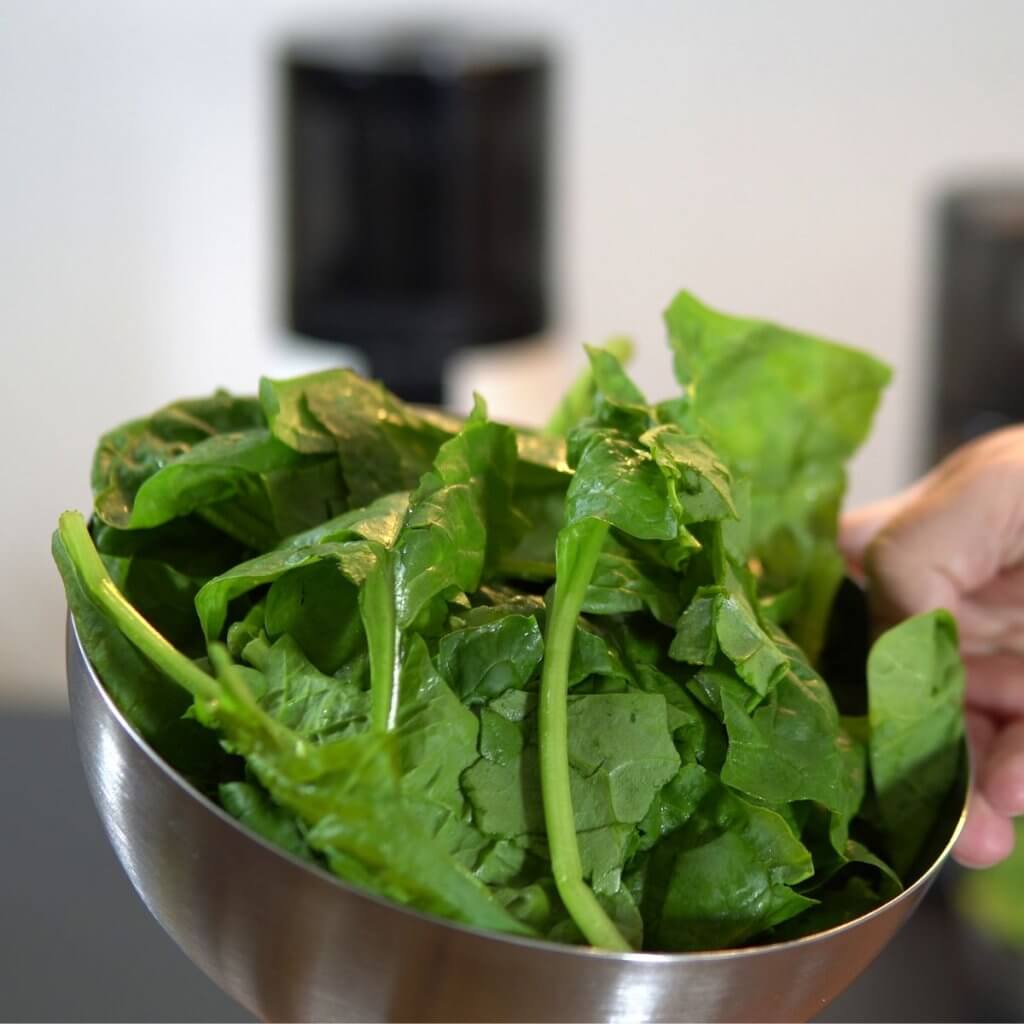
For each juicer, I test five different types of produce, chosen to represent various textures and juicing challenges:
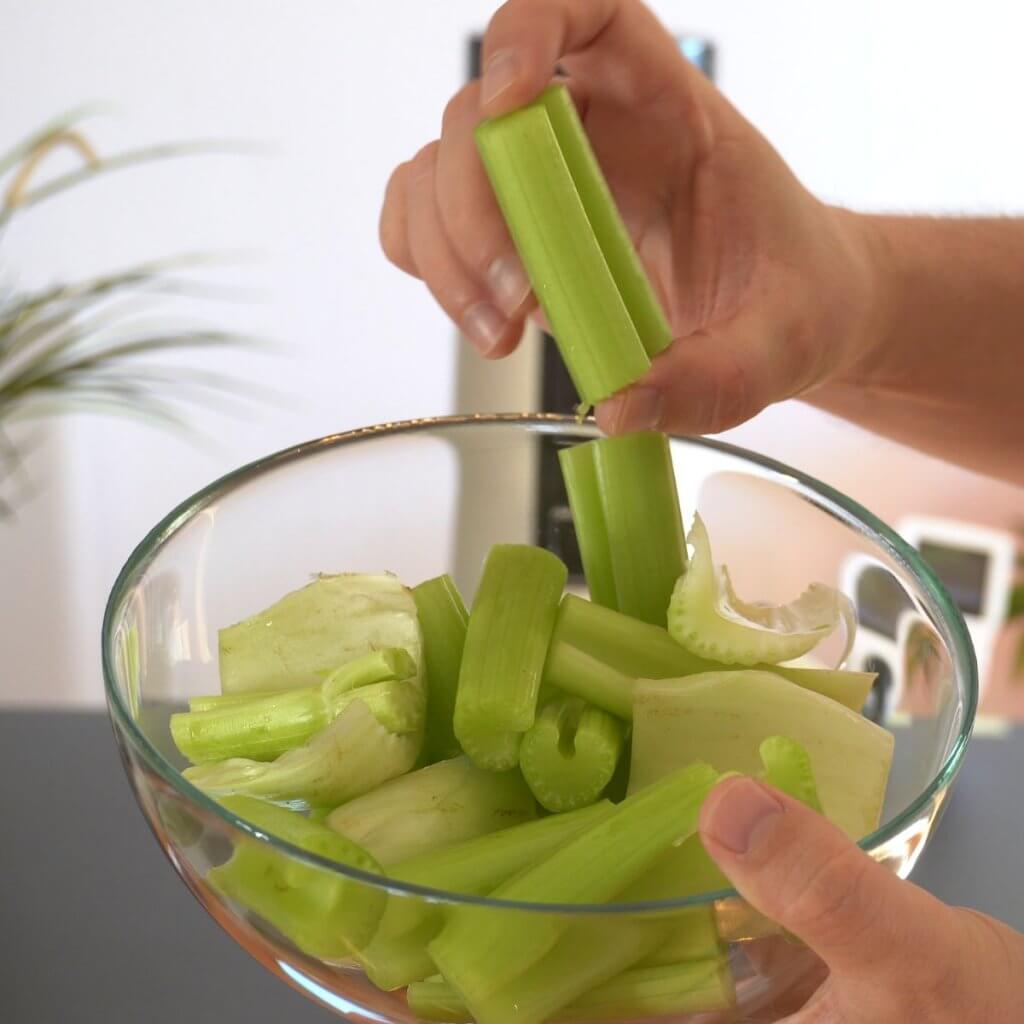
- Celery (500g, cut into 4-6cm pieces)
- Beetroot (500g, cut into 1.5×1.5cm pieces)
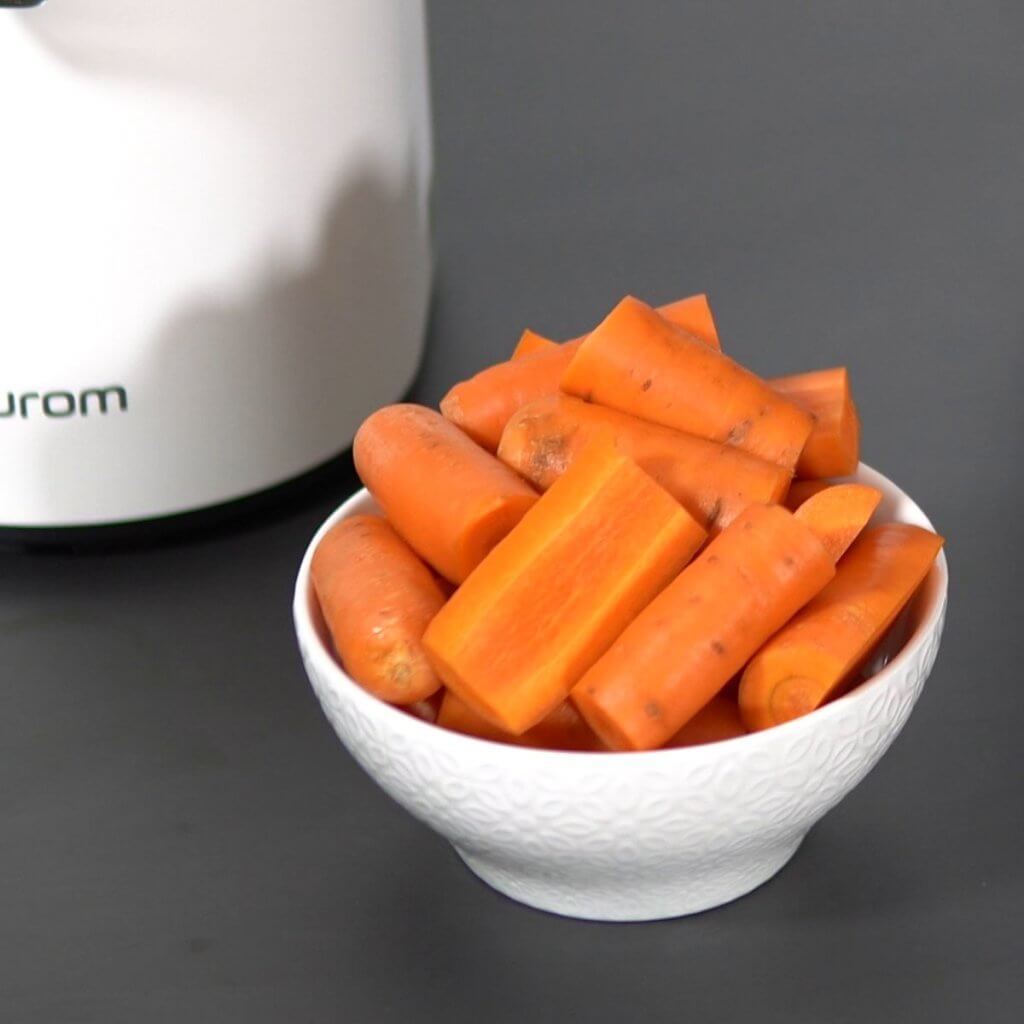
- Carrots (500g, cut into 4cm pieces)
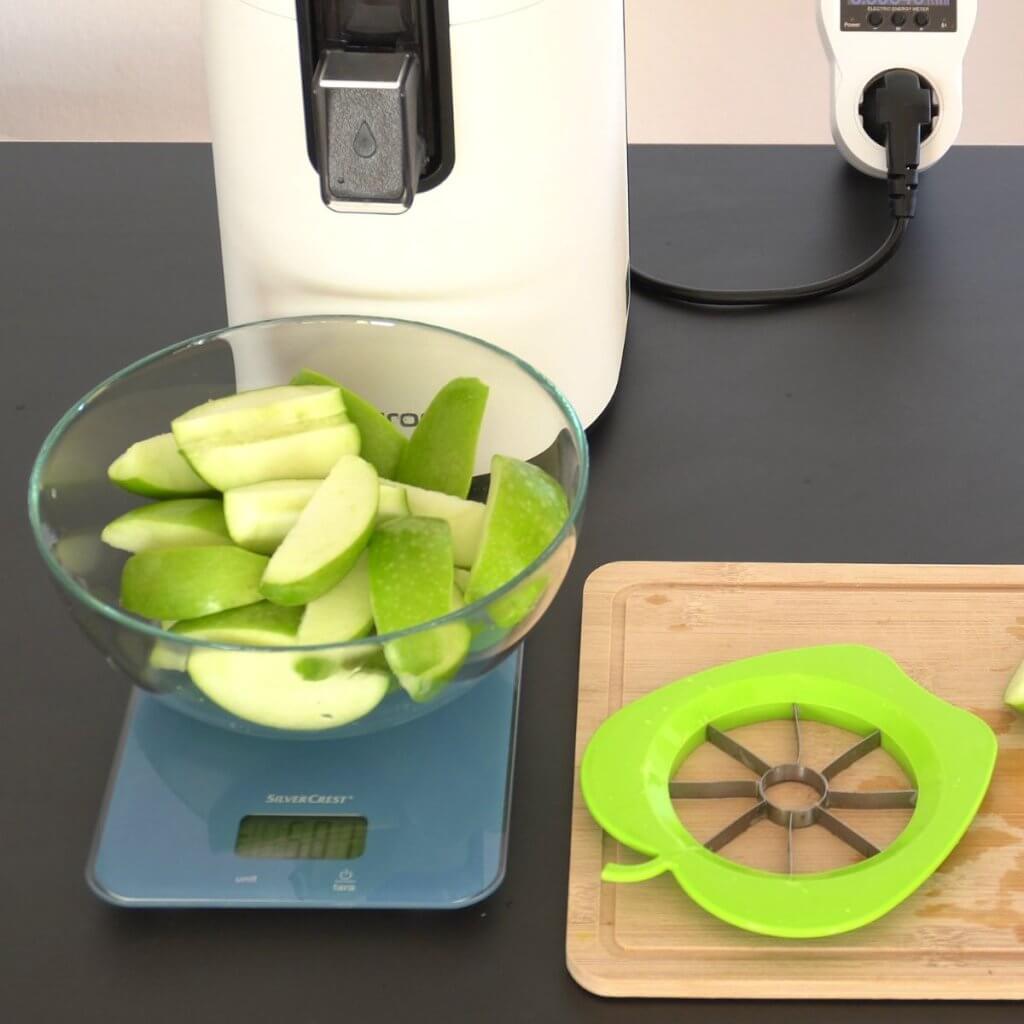
- Granny Smith apples (500g, cored and split)
- Spinach (200g)

1.2. Key Measurements
For each test, I measure:
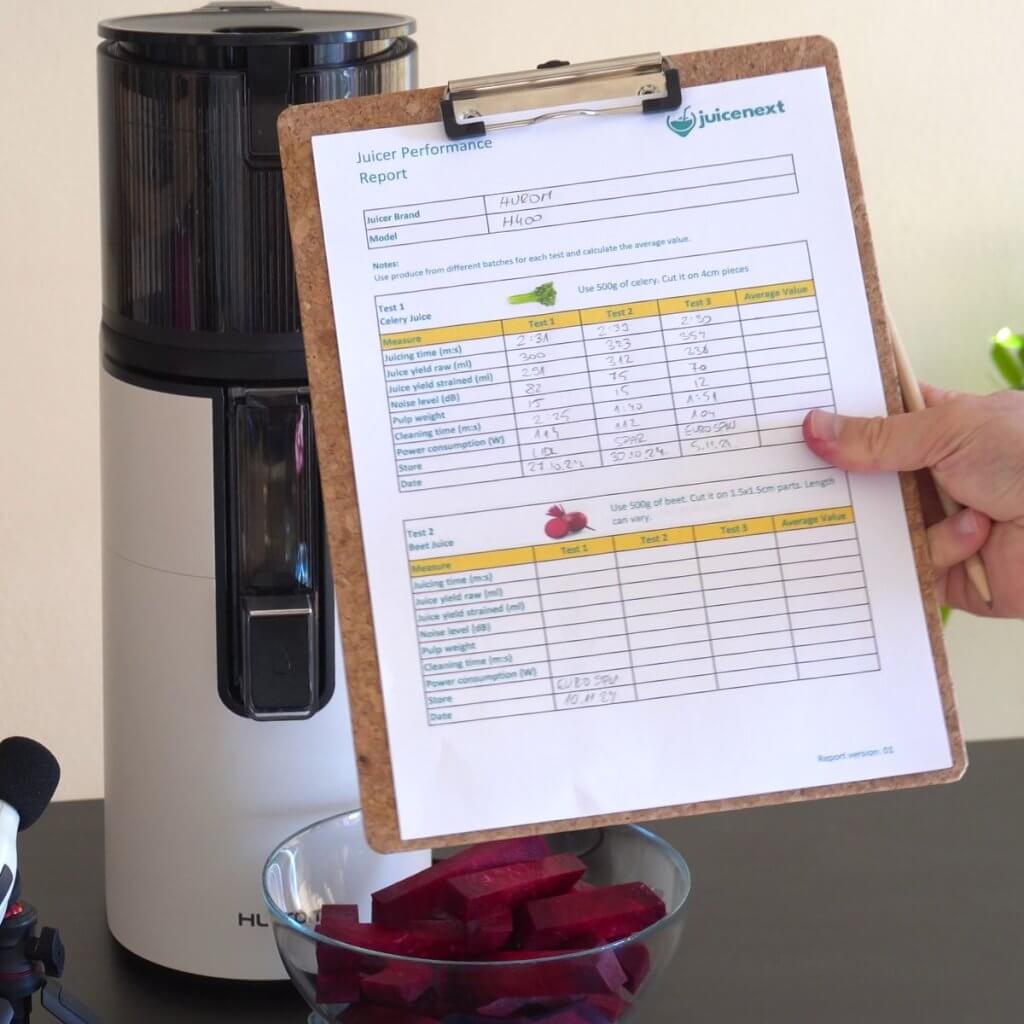
- Juicing time (minutes:seconds)
- Juice yield before straining (ml)
- Juice yield after straining (ml)
- Pulp weight (g)
- Noise level (dB)
- Power consumption (W)
- Cleaning time (minutes:seconds)
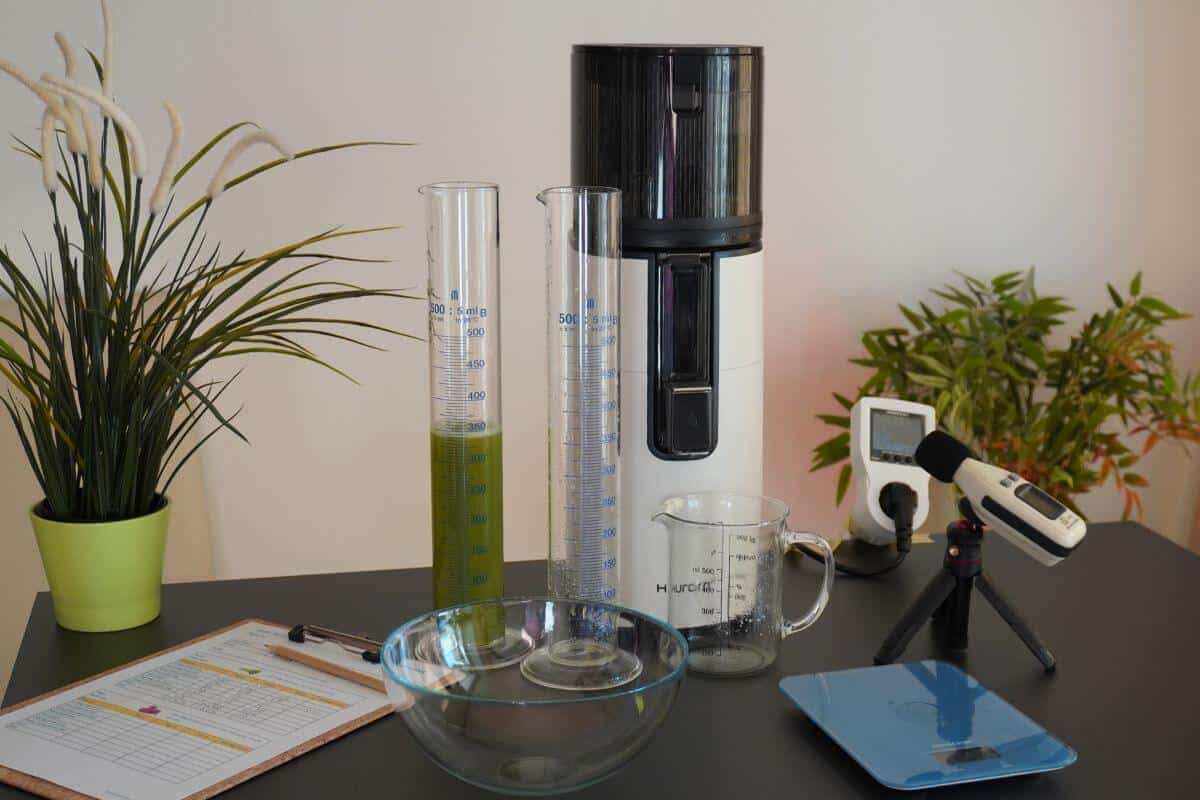
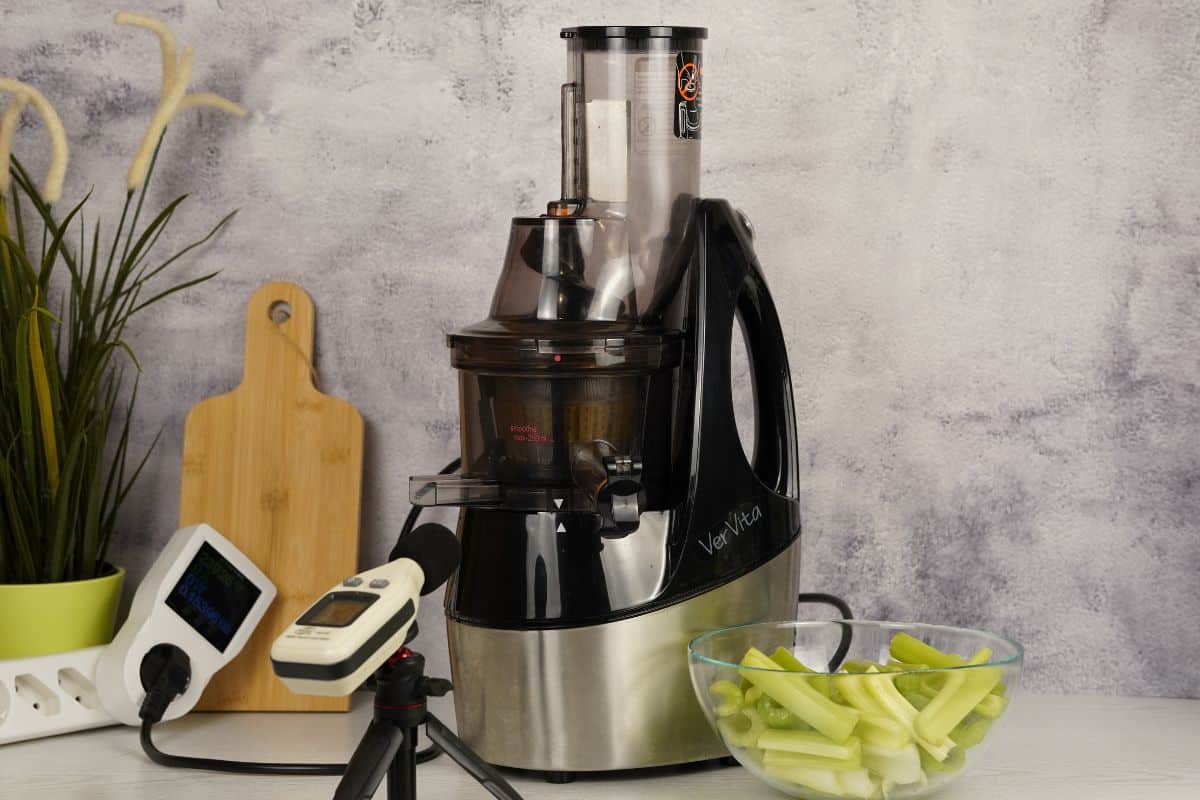
1.3. Testing Equipment
To ensure accurate measurements, I use:
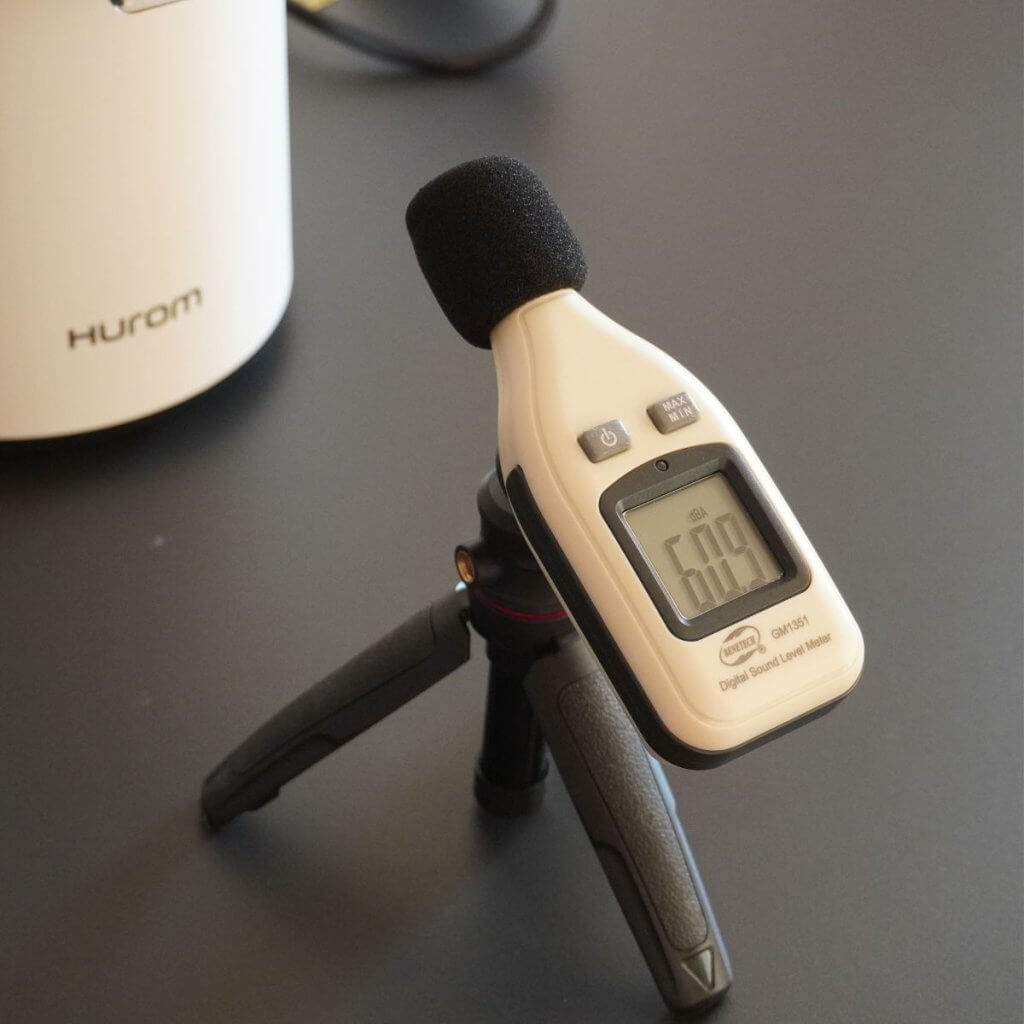
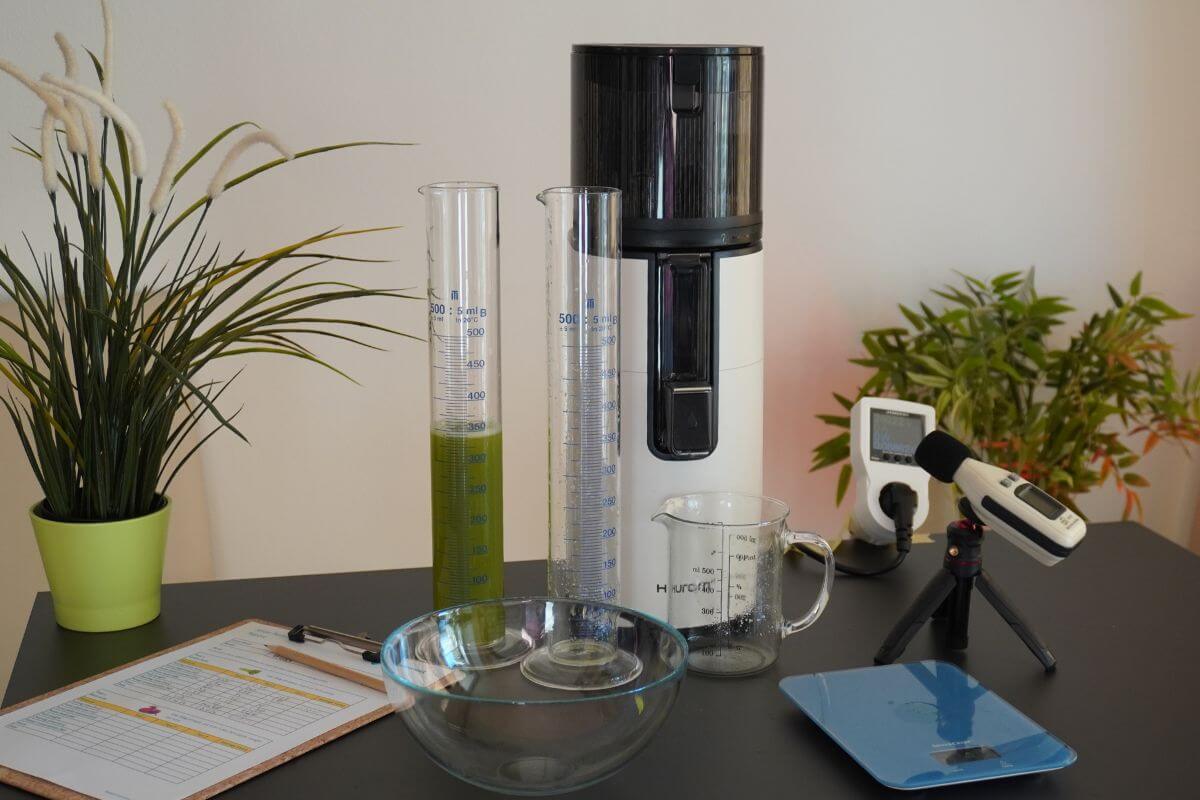
- A decibel meter positioned both 15cm from the juicer and the table
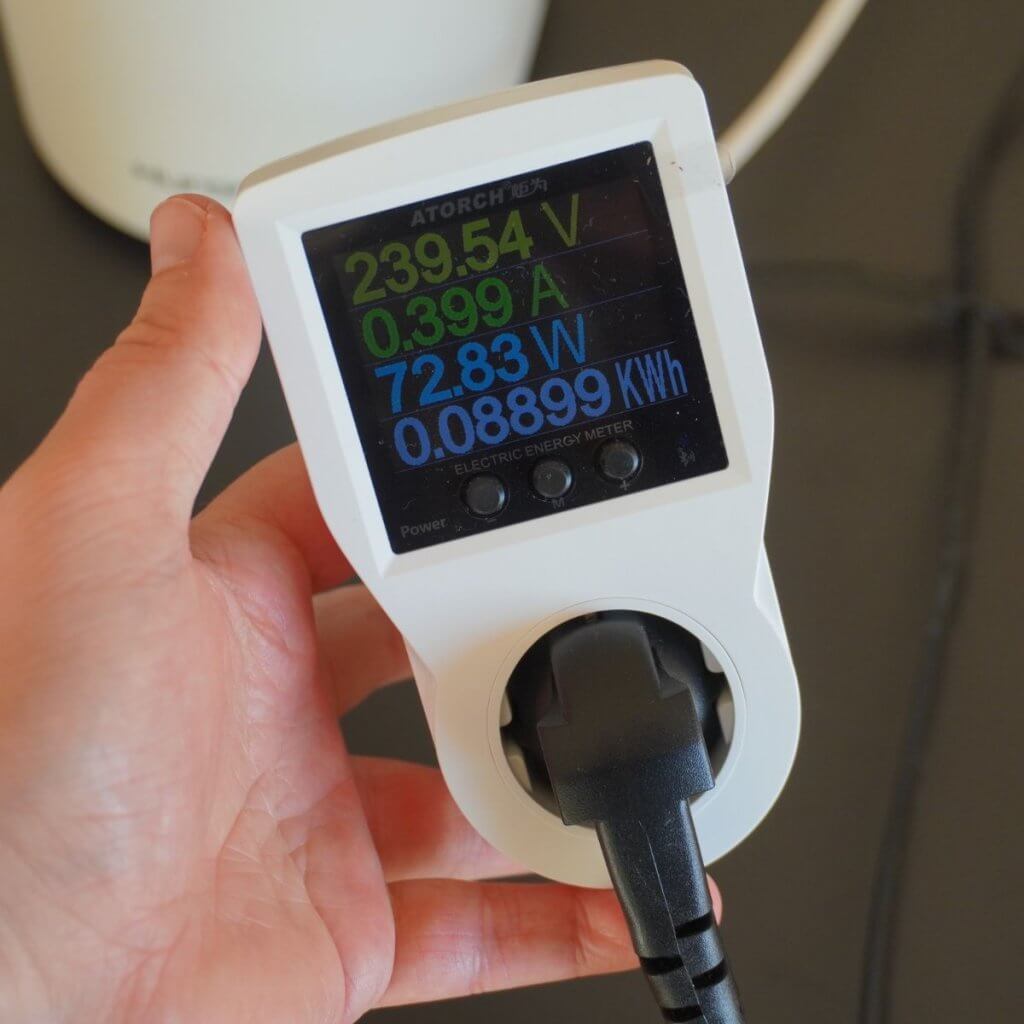
- A Watt meter for power consumption
- 500ml measuring cups and cylindric measure tubes
- Ikea Riklig teapot strainer (chosen for its consistent mesh size and worldwide availability)
1.4. Testing Protocol
Each ingredient is tested a minimum of three times, using produce from different sources and batches. This might mean purchasing from a local market one day, Spar another day, and Lidl on a third day. Why spread the tests across different days? Two practical reasons:
- It ensures we test produce from different batches and sources
- It reflects real-world usage – after all, I actually drink the juice produced during testing!
1.5. The Straining Process
Immediately after juicing, I measure the initial juice yield. Then, I strain the juice through the Ikea Riklig teapot strainer and let it strain for 10 minutes before taking the final measurement. This two-step measurement process helps evaluate both the juicer’s built-in straining efficiency and the actual juice yield.
1.6. Cleaning Evaluation
Cleaning time is measured from when I start disassembling the juicer until all parts are clean and out of the sink. This provides a realistic picture of the time investment needed – something that’s often underestimated in marketing materials.
2. Data Collection and Future Updates
All measurements are recorded in both physical documentation sheets and Excel spreadsheets. This allows for detailed analysis and comparison between different juicers. I plan to add comprehensive comparison charts in the future to help visualize the differences between various models.
3. Conclusion
This testing methodology allows me to evaluate juicers based on measurable data rather than subjective impressions. While it might seem overly thorough, this approach helps provide you with reliable information for making an informed purchase decision.
Stay tuned for individual juicer reviews where I’ll share detailed test results using this methodology.
4. Frequently Asked Questions
A single test can be misleading due to variations in produce quality, ripeness, and fiber content. By performing at least three tests with ingredients from different sources and batches, I can provide more reliable data. Since I juice regularly for my personal consumption, I often take the opportunity to measure and record additional data beyond these three mandatory tests. This helps build an even more comprehensive understanding of each juicer’s performance over time.
Each ingredient tests different aspects of a juicer’s capabilities:
– Celery: Currently very popular and tests fibrous string handling
– Beetroot: Tests the juicer’s ability to handle hard produce
– Carrots: Another hard ingredient that many people juice regularly
– Granny Smith apples: Chosen for their consistent availability and firm texture
– Spinach: Tests how well the juicer handles leafy greens, which can be challenging
I purchase produce from different stores and on different days to account for quality variations. This reflects real-world conditions where users won’t always have access to perfect produce. If I notice unusual results, I’ll continue testing during my regular juicing routine to gather more data points.
Different juicers have varying filtration efficiencies. By measuring juice yield before and after straining, and weighing the pulp collected from straining, I can assess:
– The juicer’s built-in filtration effectiveness
– True juice yield without excess pulp
– Amount of pulp that passed through the juicer’s filter
I maintain strict testing protocols:
– Same amount of produce (500g, except spinach at 200g)
– Consistent cutting sizes
– The same measurement tools and processes
– Same testing environment
– Multiple tests with different produce batches
– Complete cleaning between tests
– Using the same Ikea Riklig teapot strainer for consistency
Rather than making subjective judgments, I present the data to allow readers to make their own decisions based on their priorities. Some users might prioritize juice yield, while others focus on noise levels or cleaning time. My goal is to provide accurate measurements rather than definitive “good” or “bad” ratings.
I’m Alen, the founder of JuiceNext.com, and I’ve been immersed in the world of juicing for over 4 years now.
As an electrical engineer, I bring a unique, analytical perspective to my juicer reviews. I personally test each juicer, focusing on their efficiency and performance.
My commitment is to provide unbiased, detailed reviews and original recipes to help you make informed decisions. When I’m not in the kitchen experimenting with new juice combinations, you’ll find me hiking or bike riding – activities that perfectly complement my passion for healthy living and juicing.
Given my background in electrical engineering, you might notice that I tend to include a lot of technical information in my juicer reviews. My ultimate goal is threefold: offer my honest thoughts on currently available juicers, and keep you informed about juicer promotions and discounts.


