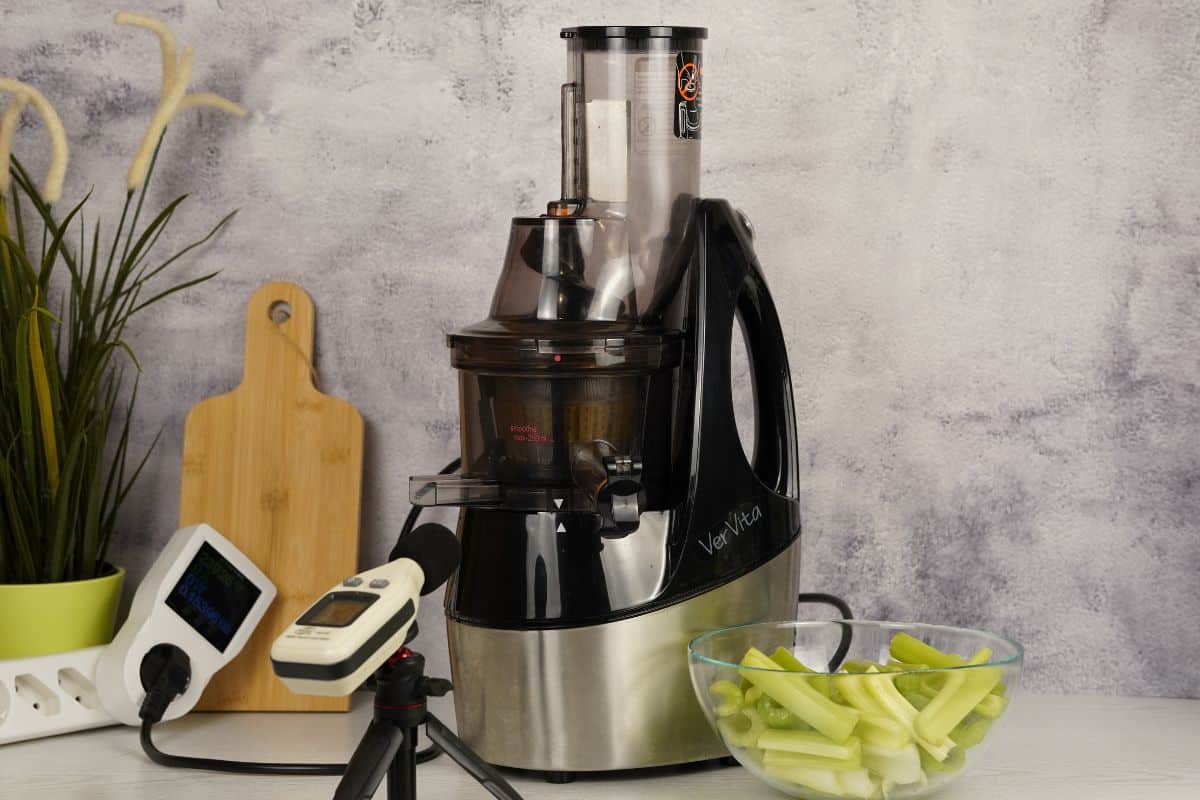


Proper slow juicer maintenance is the key to keeping your machine working like new for years. What’s surprising is that many juicer owners unknowingly destroy their machines over time by skipping basic care. If you want your slow juicer to last for years and keep producing clear, fresh juice, it’s not just about using it – it’s about maintaining it properly. After years of testing juicers daily, I’ve learned some simple but important maintenance habits that can seriously extend the life of your machine. Here are key mistakes to avoid, along with practical tips I use myself.
1. Don’t Wash Juicer Parts in the Dishwasher
The juice and pulp containers may look dishwasher-safe, but they’re not. High temperatures and aggressive detergents will make the plastic (usually Tritan or similar) cloudy over time. Also, avoid putting any other juicer parts in the dishwasher – they’re not designed for it either. Always wash all parts by hand using warm water and a mild detergent.
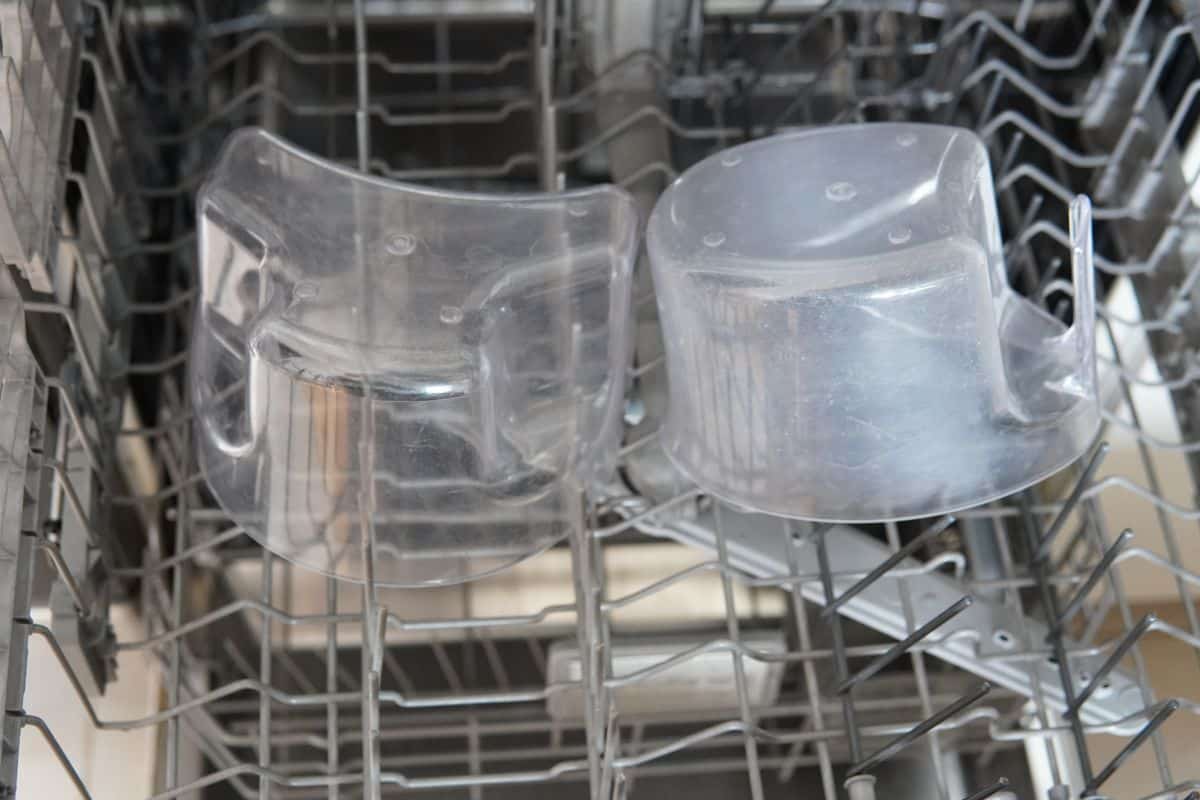
(And yes – I learned this the hard way. On my Hurom GI, I regularly washed the containers in the dishwasher. Over time, the container became completely cloudy and looked old, even though the juicer itself still worked perfectly.)
2. Don’t Leave Juice Sitting Inside
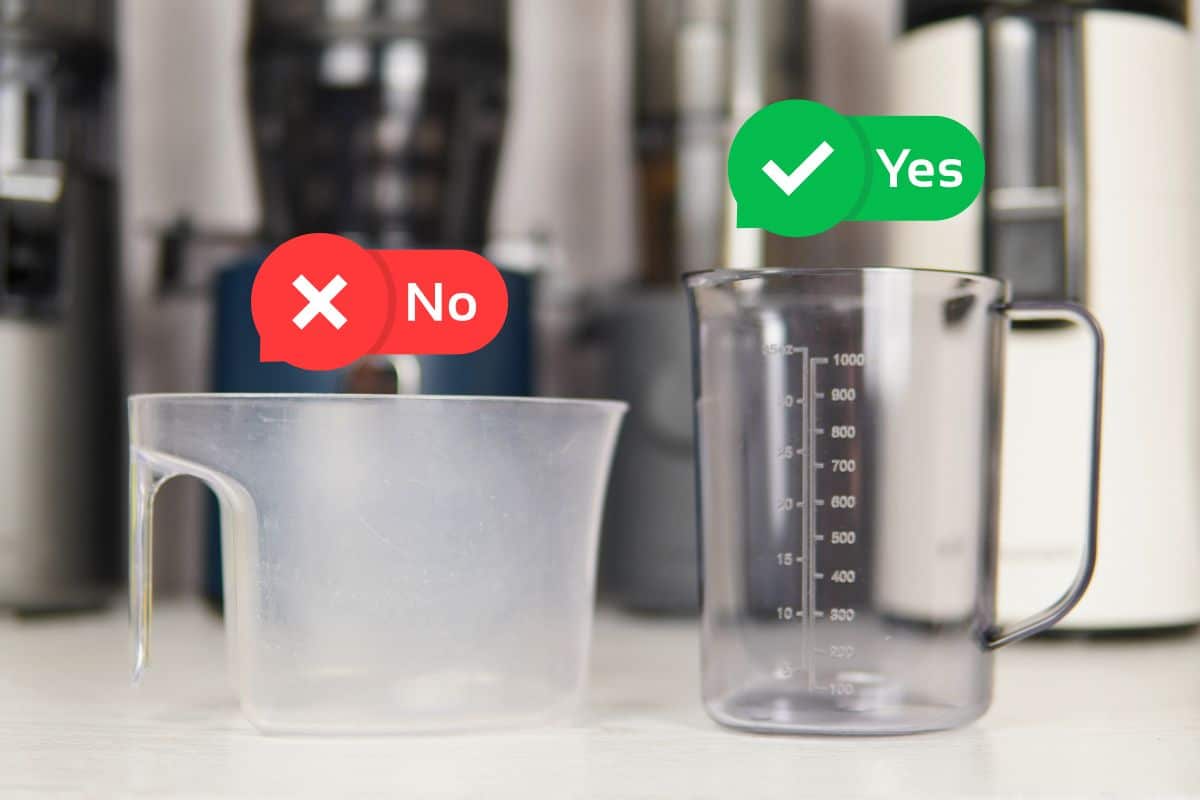
Once you’re done juicing, pour out the juice. Leaving it to sit inside the containers for hours (especially citrus or celery juice) can slowly damage or stain the plastic. It also makes cleaning harder.
Also, I’ve even seen people store the whole hopper full of juice inside the fridge, to have it ready for the next morning. Please don’t do this – acidic juice can slowly damage the materials. Unfortunately, I don’t remember exactly where I read that, but it stuck in my mind as something to avoid.
3. Avoid Using the Rough Side of the Sponge
Never scrub your juice or pulp containers or the juicer itself with the rough side of the sponge. It might seem harmless, but it will scratch the surface of the plastic over time. I use only the soft side for cleaning both the containers and the juicer body.
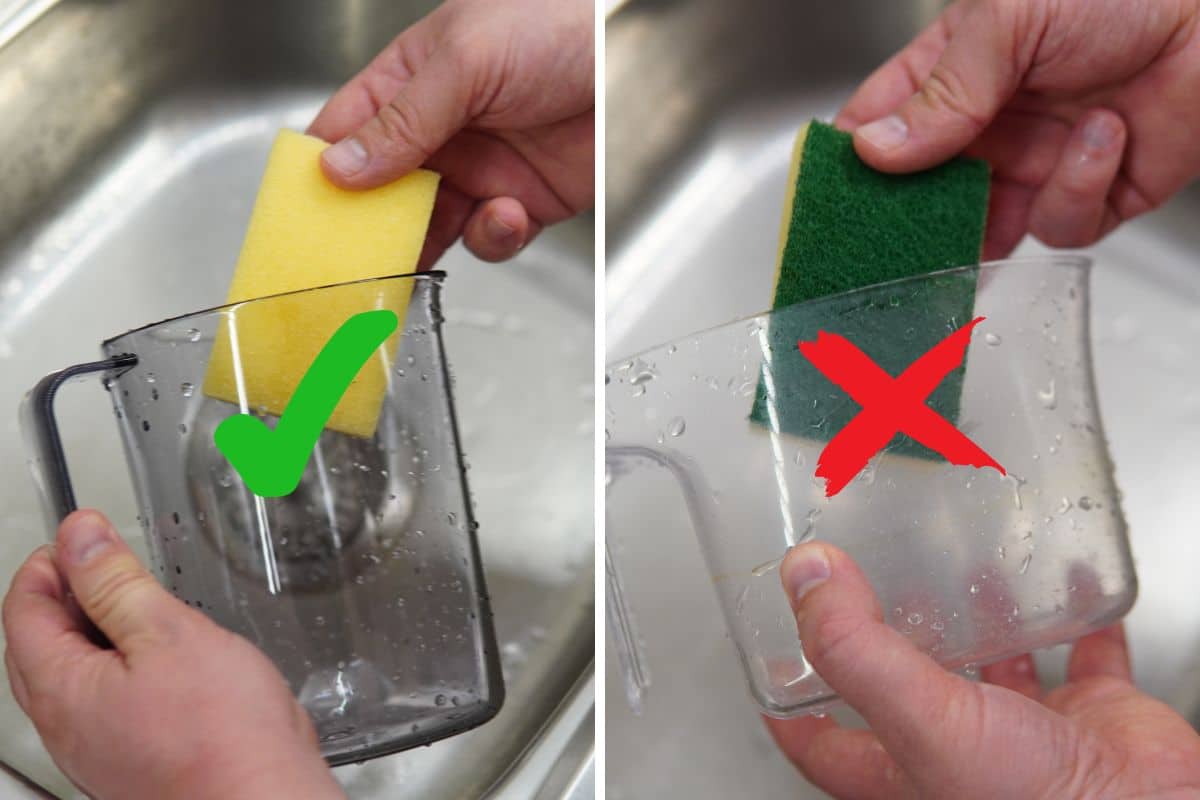
(Again, personal experience: I used the rough side for months on my Hurom GI containers, and now the plastic is full of scratches.)
4. Always Clean the Juicer Immediately After Use
It sounds obvious, but it’s easy to postpone cleaning. The problem? Juice residues – especially from celery, beets, and carrots – dry fast and become extremely difficult to remove. I always rinse all parts right after juicing.
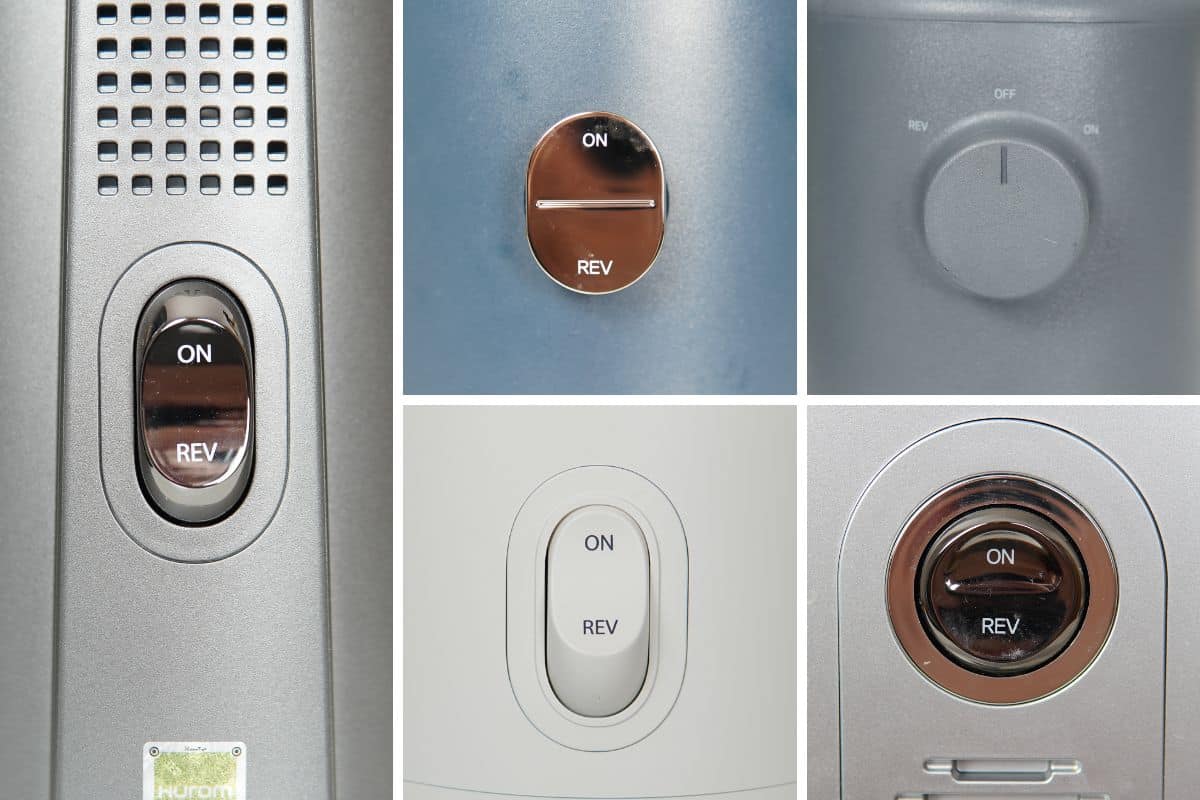
5. Be Gentle with the Juicer’s Reverse Function
If your juicer clogs, don’t immediately engage reverse while the machine is still running after juicing. First, stop the machine completely and wait until it fully stops. Only then engage in reverse. Using reverse while the motor is under load can strain or potentially damage the motor or screw.
6. Don’t Use Metal Brushes or Abrasive Cleaners on the Strainer
Even if your strainer is metal, don’t use a metal brush. Metal rubbing on metal will scratch and wear down the strainer over time. Your strainer might look tough, but metal brushes or abrasive powders can damage it. I use the included plastic brush (or any soft brush) to clean it properly.
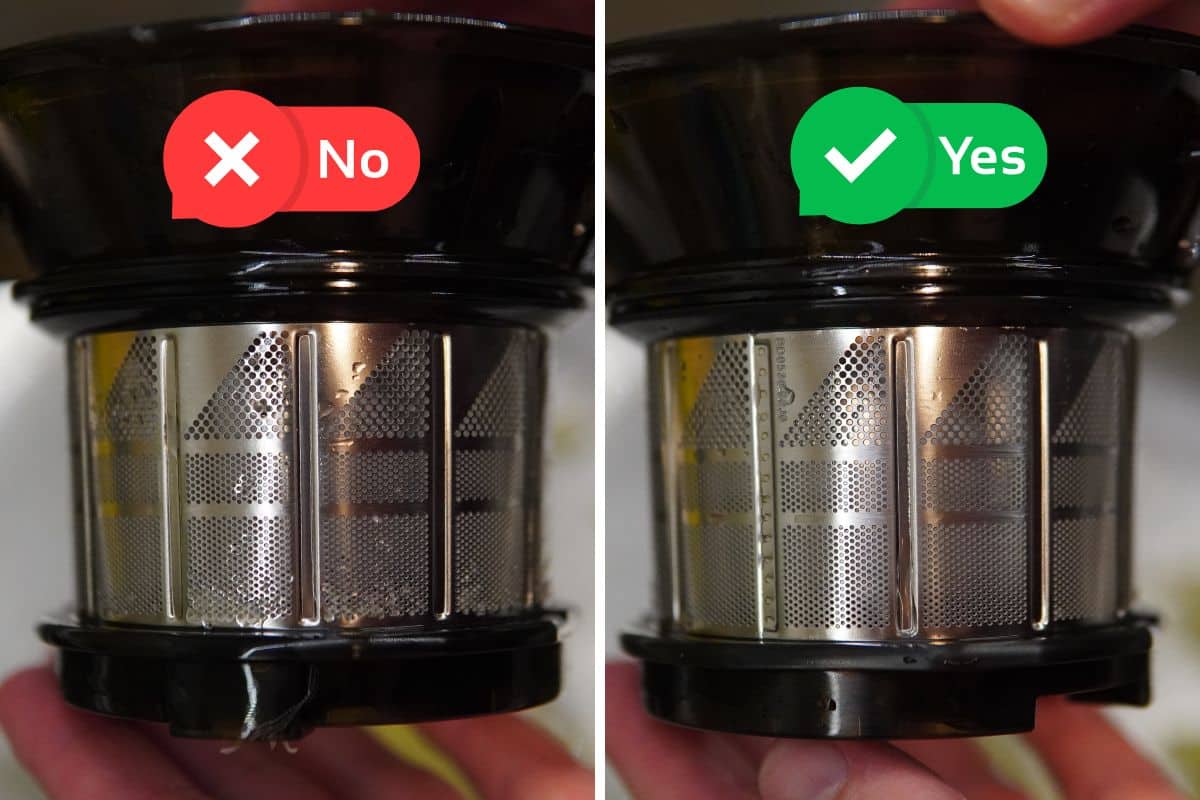
7. Clean the Strainer Properly – No Pulp Left Behind
The strainer is the heart of your juicer. Even tiny bits of pulp stuck inside the holes can become a breeding ground for bacteria if left inside. After every use, I carefully brush both sides of the strainer under running water until all holes are visibly clear. This is especially important for those using juicers with metal strainers, like the H330P, H320N, E50-ST, or H70-ST. If the holes get clogged, the juice simply won’t strain properly. I’ve seen many juicers for sale where the strainers were completely blocked – those machines barely work anymore. Always make sure your strainer is completely clean.
8. Don’t Soak Plastic Parts in Strong Chemicals
Avoid soaking plastic parts in vinegar or strong degreasers regularly. If you need to remove limescale (common in hard water areas), I recommend occasional soaking in a weak vinegar solution, but rinse thoroughly afterward.
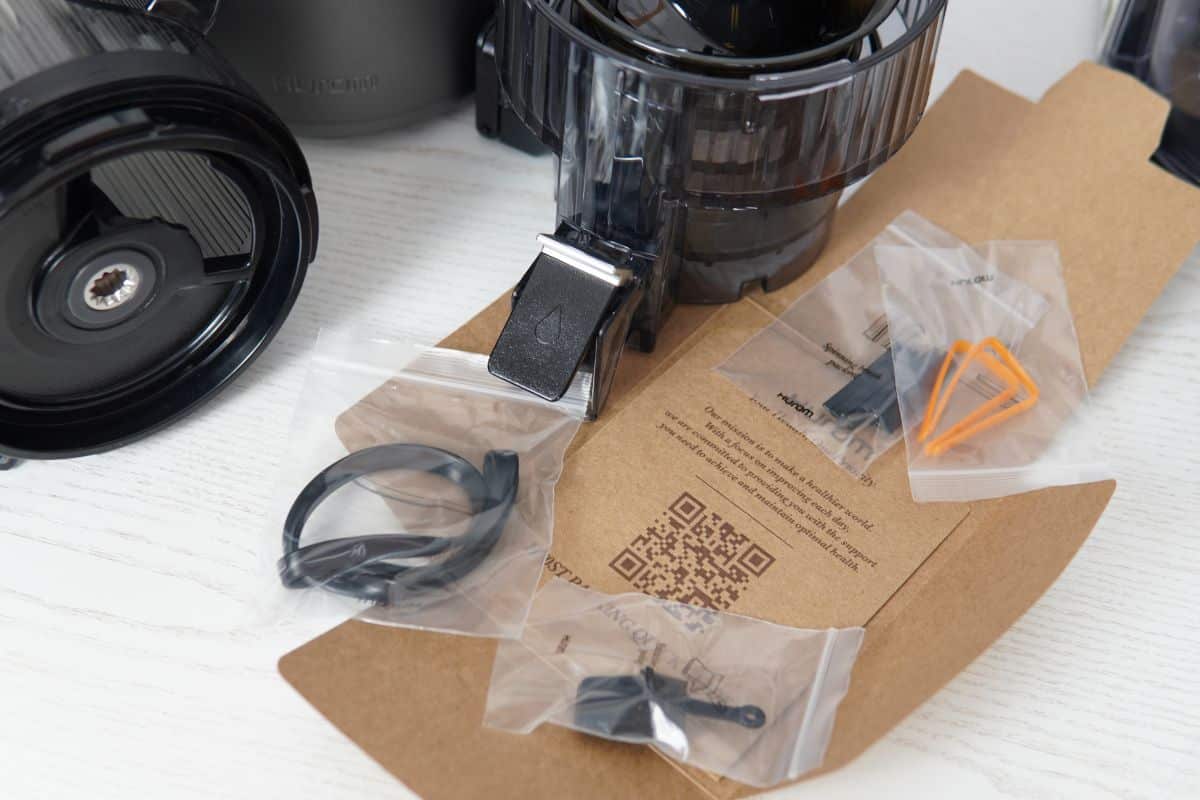
9. Replace Silicone Seals When Needed
Check silicone seals and valves from time to time – especially if you notice leaking. They wear out over the years, but replacing them is simple and keeps your juicer working as new. Hurom often includes spare silicone parts directly in the box when you buy the juicer, but if not, you can easily get replacements from the official Hurom Spare Parts shop.
10. Don’t Store the Juicer Wet
It’s fine to assemble the juicer after washing as long as all parts are completely dry. Personally, I assemble mine too, but only after ensuring everything has fully dried. If you assemble the juicer while parts are still wet, trapped moisture inside can lead to mold or unpleasant smells over time.
These tips might sound simple, but following them consistently will help your slow juicer stay in top condition for years. It’s all about building small habits. Clean it immediately, avoid harsh detergents, and treat the strainer like the sensitive part it actually is.
If you found this helpful, consider sharing it with a friend who owns a slow juicer – they’ll appreciate the tips. And if you’d like more practical advice like this, let me know. Happy juicing!
I’m Alen, the founder of JuiceNext.com, and I’ve been immersed in the world of juicing for over 4 years. As an electrical engineer, I bring a unique, analytical approach to juicer testing. Every juicer I review is tested by me personally, with a focus on performance, efficiency, and real-world usability. My mission is to provide honest, data-driven reviews and creative juice recipes that help you get the most from your juicer. When I’m not experimenting in the kitchen, I’m usually hiking or cycling – a lifestyle that perfectly complements my passion for wellness and juicing.
You’ll notice I often go deep into technical details – that’s just the engineer in me. But above all, I care about helping you find the right juicer, avoid marketing traps, and save money with the best deals I come across.